Algorithm Reference
All 134 cases this site teaches, each machine-verified against a cube simulator before it ships. Tap a case to play it in 3D — the 13 the course teaches by name appear twice, once in their lesson's section and once in the full set. Prefer paper? Download the PDF guide or the printable card set— three progression cards plus an annex.
No case matches that
The Beginner Method (8)
Not cases — the algorithms the beginner solve is built out of, in course order: righty and lefty seat the white corners, the two inserts are those same triggers back to back, Sune + U swaps two yellow edges, Niklas seats the last four corners, and the two Speed Tricks twists finish without flipping the cube. Step 4's yellow cross is the next section down: those three are cases, a state to recognise and the algorithm that clears it.
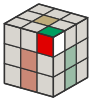 R U R' U'
SolvingRighty — the sexy move
Starts at the case. Full colour is what this step solves, dim is already solved and has to survive it, grey is further down the method.
Open the full case page →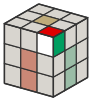 L' U' L U
SolvingLefty — righty mirrored
Starts at the case. Full colour is what this step solves, dim is already solved and has to survive it, grey is further down the method.
Open the full case page →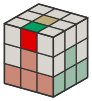 U R U R' U' y L' U' L U
SolvingEdge insert — points right
Starts at the case. Full colour is what this step solves, dim is already solved and has to survive it, grey is further down the method.
Open the full case page →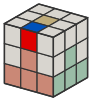 U' L' U' L U y' R U R' U'
SolvingEdge insert — points left
Starts at the case. Full colour is what this step solves, dim is already solved and has to survive it, grey is further down the method.
Open the full case page →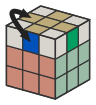 R U R' U R U2 R' U
SolvingSune + U — the edge swap
Starts at the case. Full colour is what this step solves, dim is already solved and has to survive it, grey is further down the method.
Open the full case page →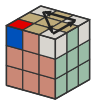 R U' L' U R' U' L
SolvingNiklas — the corner cycle
Starts at the case. Full colour is what this step solves, dim is already solved and has to survive it, grey is further down the method.
Open the full case page →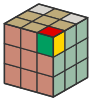 R' D' R D R' D' R D
SolvingCorner twist — yellow faces right
Starts at the case. Full colour is what this step solves, dim is already solved and has to survive it, grey is further down the method.
Open the full case page →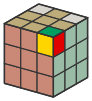 D' R' D R D' R' D R
SolvingCorner twist — yellow faces front
Starts at the case. Full colour is what this step solves, dim is already solved and has to survive it, grey is further down the method.
Open the full case page →Yellow Cross (3)
Three cases — and the first two are the same trigger.
Taught in Step 4: The Yellow Cross
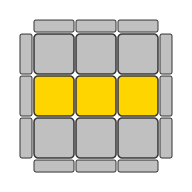 F R U R' U' F'
SolvingLine
Starts at the case. Full colour is what this step solves, dim is already solved and has to survive it, grey is further down the method.
Open the full case page →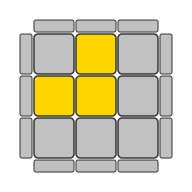 f R U R' U' f'
SolvingHook
Starts at the case. Full colour is what this step solves, dim is already solved and has to survive it, grey is further down the method.
Open the full case page →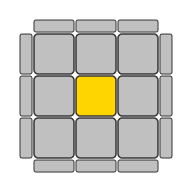 F R U R' U' F' f R U R' U' f'
SolvingDot
Starts at the case. Full colour is what this step solves, dim is already solved and has to survive it, grey is further down the method.
Open the full case page →Corner Orientation — 2-Look OLL (7)
Taught in Orient Corners: Anti-Sune + 5 New Cases
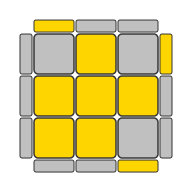 R U R' U R U2 R'
SolvingSune
Starts at the case. Full colour is what this step solves, dim is already solved and has to survive it, grey is further down the method.
Open the full case page →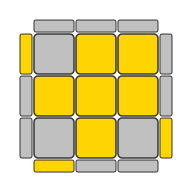 R U2 R' U' R U' R'
SolvingAnti-Sune
Starts at the case. Full colour is what this step solves, dim is already solved and has to survive it, grey is further down the method.
Open the full case page →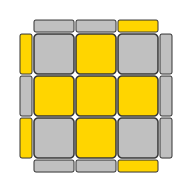 f R U R' U' f' F R U R' U' F'
SolvingPi
Starts at the case. Full colour is what this step solves, dim is already solved and has to survive it, grey is further down the method.
Open the full case page →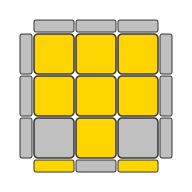 R2 D R' U2 R D' R' U2 R'
SolvingHeadlights
Starts at the case. Full colour is what this step solves, dim is already solved and has to survive it, grey is further down the method.
Open the full case page →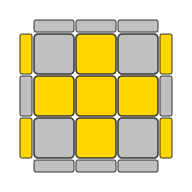 R U R' U R U' R' U R U2 R'
SolvingDouble Headlights
Starts at the case. Full colour is what this step solves, dim is already solved and has to survive it, grey is further down the method.
Open the full case page →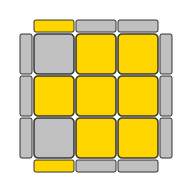 r U R' U' r' F R F'
SolvingChameleon
Starts at the case. Full colour is what this step solves, dim is already solved and has to survive it, grey is further down the method.
Open the full case page →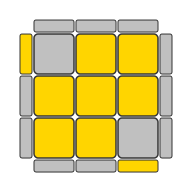 F' r U R' U' r' F R
SolvingBowtie
Starts at the case. Full colour is what this step solves, dim is already solved and has to survive it, grey is further down the method.
Open the full case page →Corner Permutation — 2-Look PLL (2)
Taught in The CFOP Switch
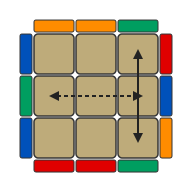 R U R' U' R' F R2 U' R' U' R U R' F'
SolvingT-Perm
Starts at the case. Full colour is what this step solves, dim is already solved and has to survive it, grey is further down the method.
Open the full case page →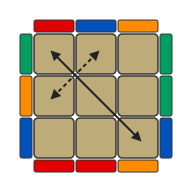 F R U' R' U' R U R' F' R U R' U' R' F R F'
SolvingY-Perm
Starts at the case. Full colour is what this step solves, dim is already solved and has to survive it, grey is further down the method.
Open the full case page →Edge Permutation — 2-Look PLL (4)
Taught in The CFOP Switch
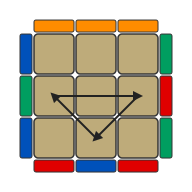 R2 U R U R' U' R' U' R' U R'
SolvingUb
Starts at the case. Full colour is what this step solves, dim is already solved and has to survive it, grey is further down the method.
Open the full case page →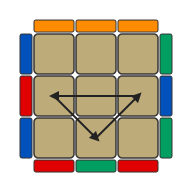 M2 U M U2 M' U M2
SolvingUa
Starts at the case. Full colour is what this step solves, dim is already solved and has to survive it, grey is further down the method.
Open the full case page →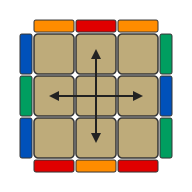 M2 U' M2 U2 M2 U' M2
SolvingH-Perm
Starts at the case. Full colour is what this step solves, dim is already solved and has to survive it, grey is further down the method.
Open the full case page →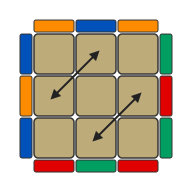 M' U' M2 U' M2 U' M' U2 M2 U
SolvingZ-Perm
Starts at the case. Full colour is what this step solves, dim is already solved and has to survive it, grey is further down the method.
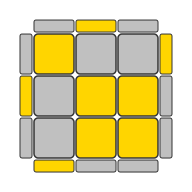
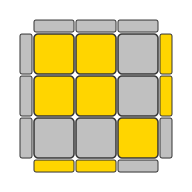
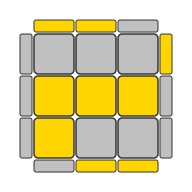
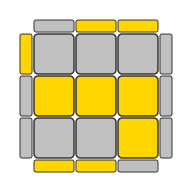
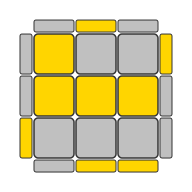
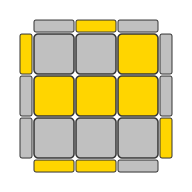
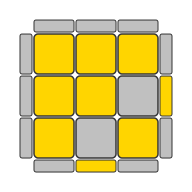
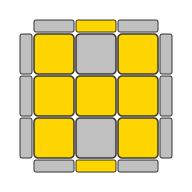
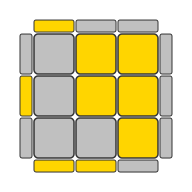
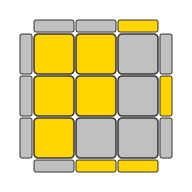
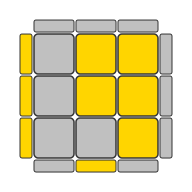
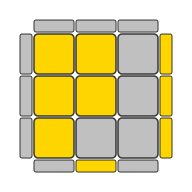
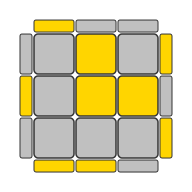
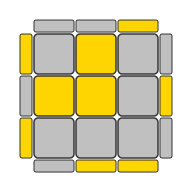
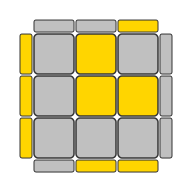
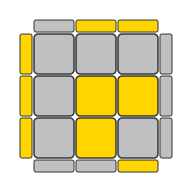
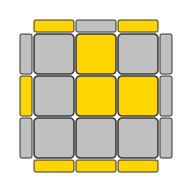
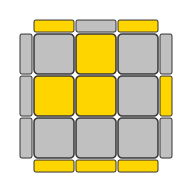
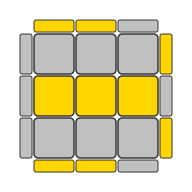
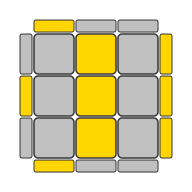
Open the full case page →Full OLL (57)
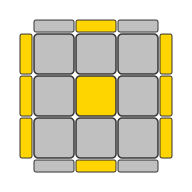
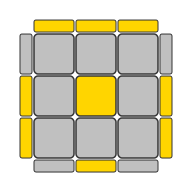
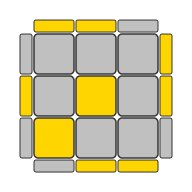
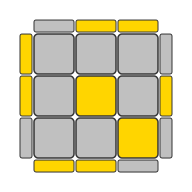
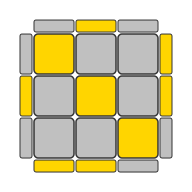
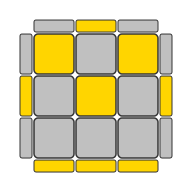
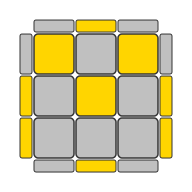
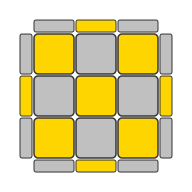
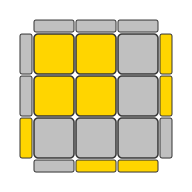
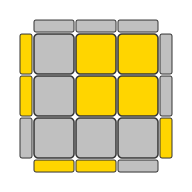
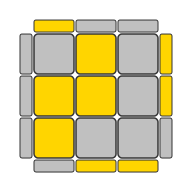
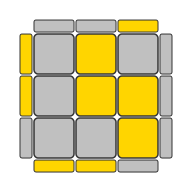
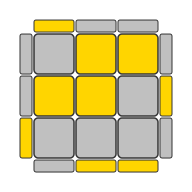
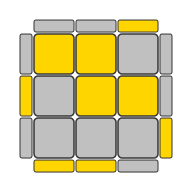
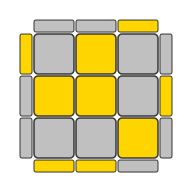
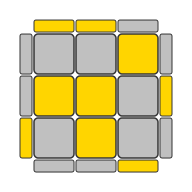
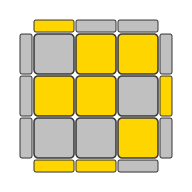
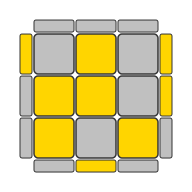
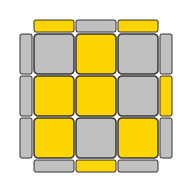
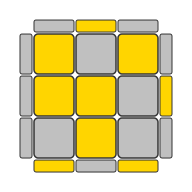
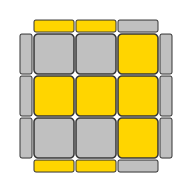
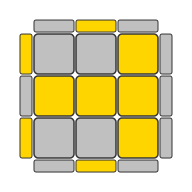
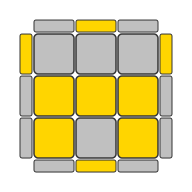
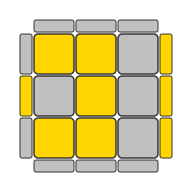
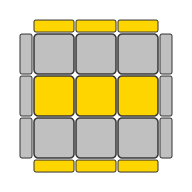
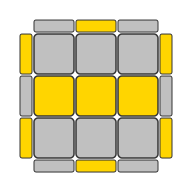
The complete orientation set, grouped the way you recognize them.
Taught in Full OLL: 57 Cases by Shape
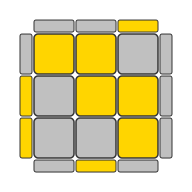
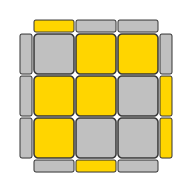
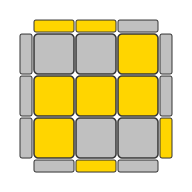
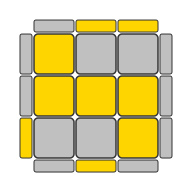
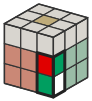
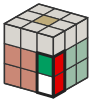
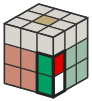
F2L (41)
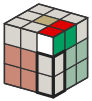
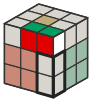
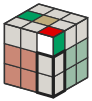
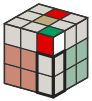
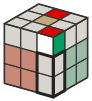
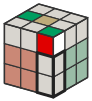
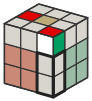
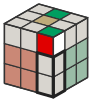
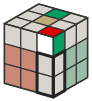
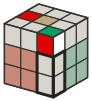
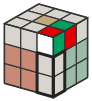
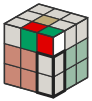
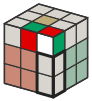
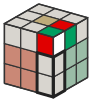
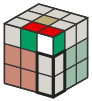
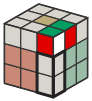
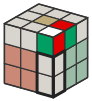
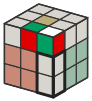
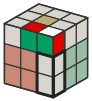
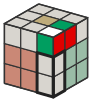
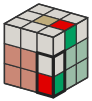
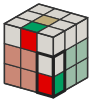
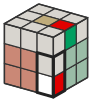
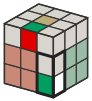
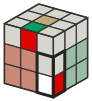
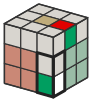
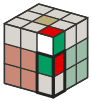
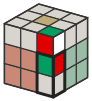
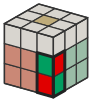
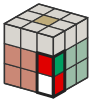
First-two-layers pairs for the front-right slot; learn them intuitively first and look the awkward ones up here.
Taught in F2L: Solve Two Layers at Once
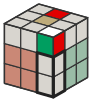
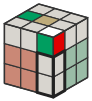
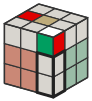
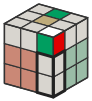
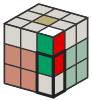
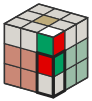
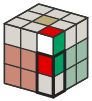
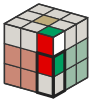
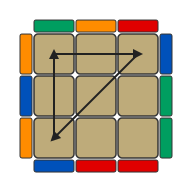
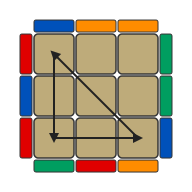
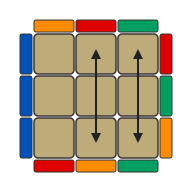
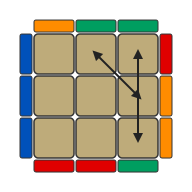
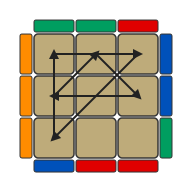
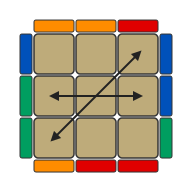
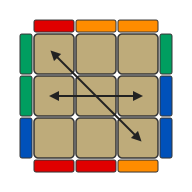
Full PLL (21)
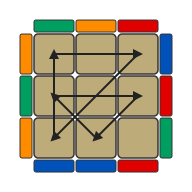
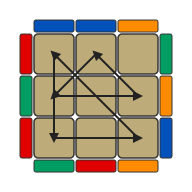
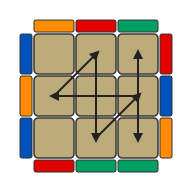
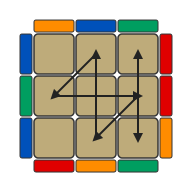
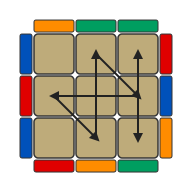
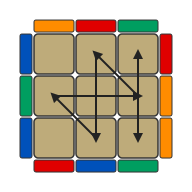
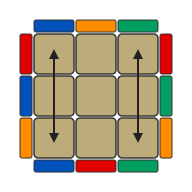
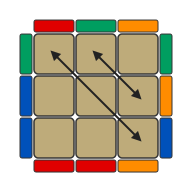
Permutations with their piece-movement arrows.
Taught in Full PLL: 21 Cases as Upgrades
4×4 Skills (3)
The whole of what a 4×4 adds to the 3×3 you already solve: one algorithm for pairing, and the two states a 3×3 can never produce. Centres are intuitive — there is nothing to look up.
Taught in 4×4: The 3×3 Stage and Parity
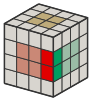 R U R' F R' F' R
SolvingThe edge flip
Starts at the case. Full colour is what this step solves, dim is already solved and has to survive it, grey is further down the method.
Open the full case page →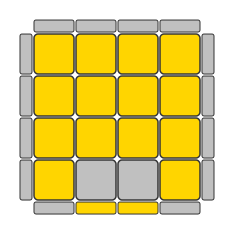 Rw U2 x Rw U2 Rw U2 Rw' U2 Lw U2 Rw' U2 Rw U2 Rw' U2 Rw'
SolvingOLL Parity (4×4)
Starts at the case. Full colour is what this step solves, dim is already solved and has to survive it, grey is further down the method.
Open the full case page →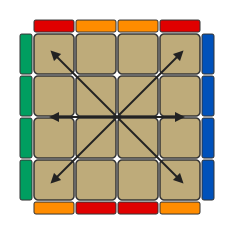 2R2 U2 2R2 Uw2 2R2 Uw2
SolvingPLL Parity (4×4)
Starts at the case. Full colour is what this step solves, dim is already solved and has to survive it, grey is further down the method.
Open the full case page →5×5 Skills (1)
Two algorithms finish a 5×5, and you already know one: the edge flip is the same seven outer turns on both cubes. This is the other one — the only thing a 5×5 asks that a 4×4 does not. Centres and pairing are technique, taught in the lessons.
Taught in 5×5: Last Two Edges and Parity
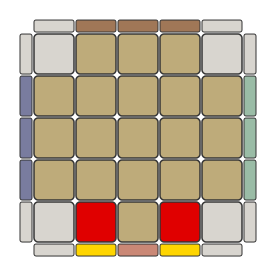 Rw U2 x Rw U2 Rw U2 3Rw' U2 Lw U2 Rw' U2 Rw U2 Rw' U2 Rw'
SolvingEdge Parity (5×5)
Starts at the case. Full colour is what this step solves, dim is already solved and has to survive it, grey is further down the method.
Open the full case page →